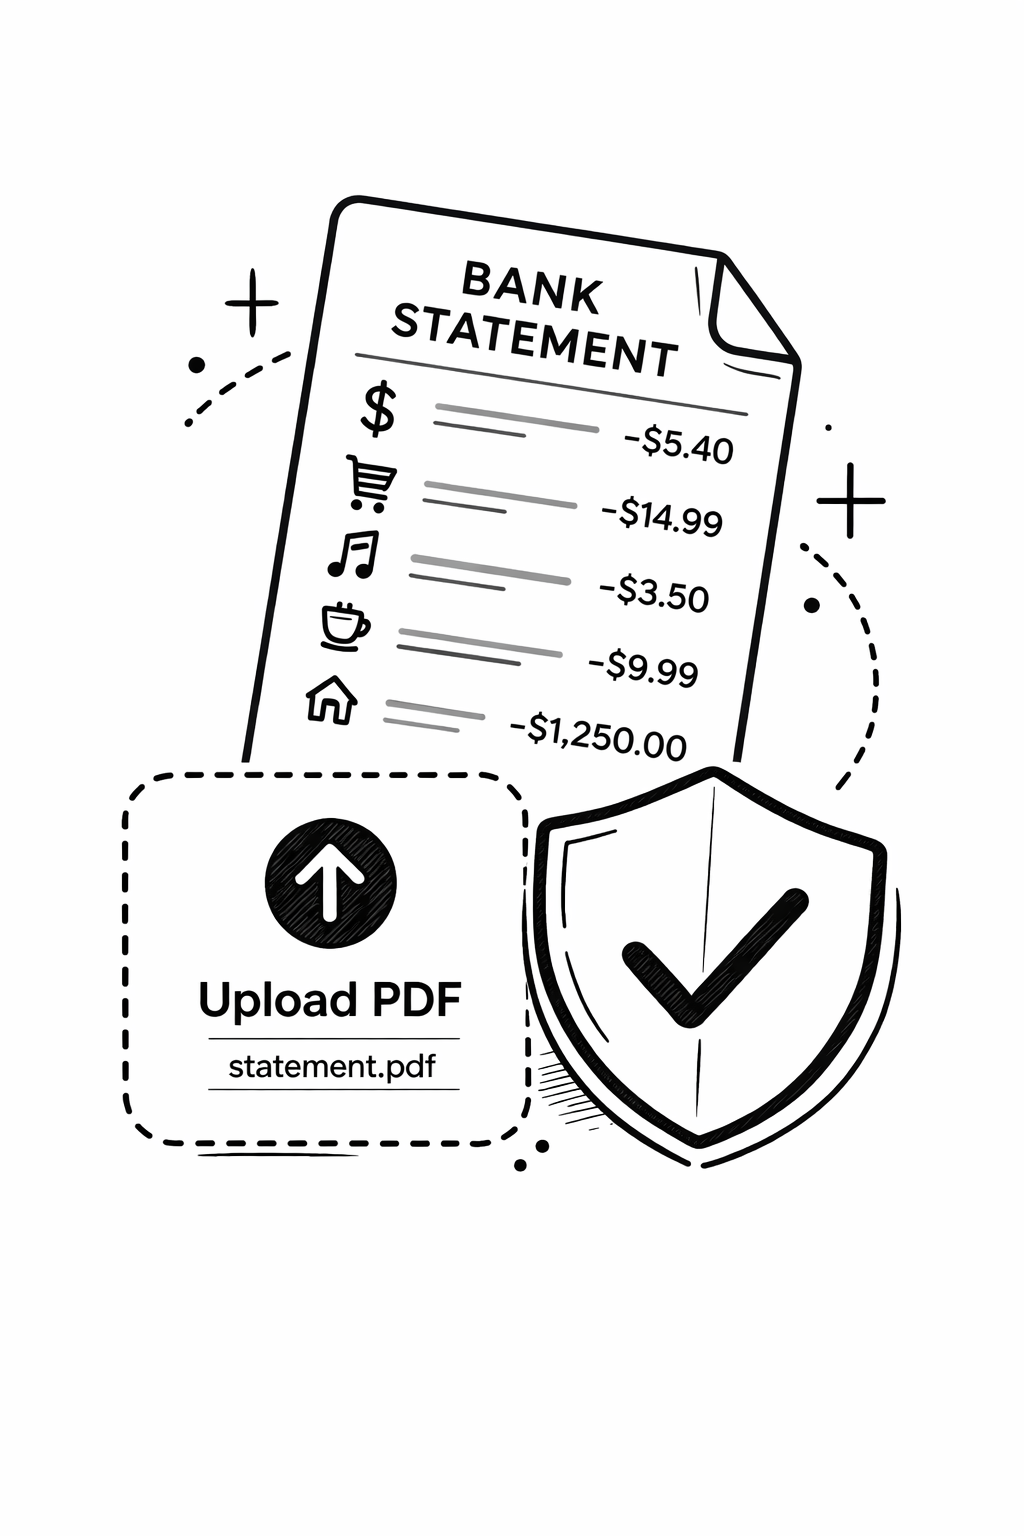
Analyze your bank statement

Upload PDF → see categorized spending, charts, subscriptions, and export to CSV. Free, 30 sec.

AI categorization
Spending charts
CSV & Excel export
Private & encrypted
Upload your PDF free →

No signup · deleted after analysis

← Back to blog
Guide

How to Import a Bank Statement into Xero or QuickBooks

Neither Xero nor QuickBooks can read a PDF directly. The process is always: convert your PDF to CSV first, then import the CSV. Here's the exact steps for each platform.

April 9, 2026 · 6 min read
Short Answer
Step 1: Convert your PDF bank statement to CSV using your bank's online export or a bank statement converter. Step 2: In Xero: Accounting → Bank accounts → Import a statement. In QuickBooks: Banking → Upload transactions. In Wave: Banking → Upload statement. Map the Date, Description, and Amount columns when prompted.

Why you can't import a PDF directly

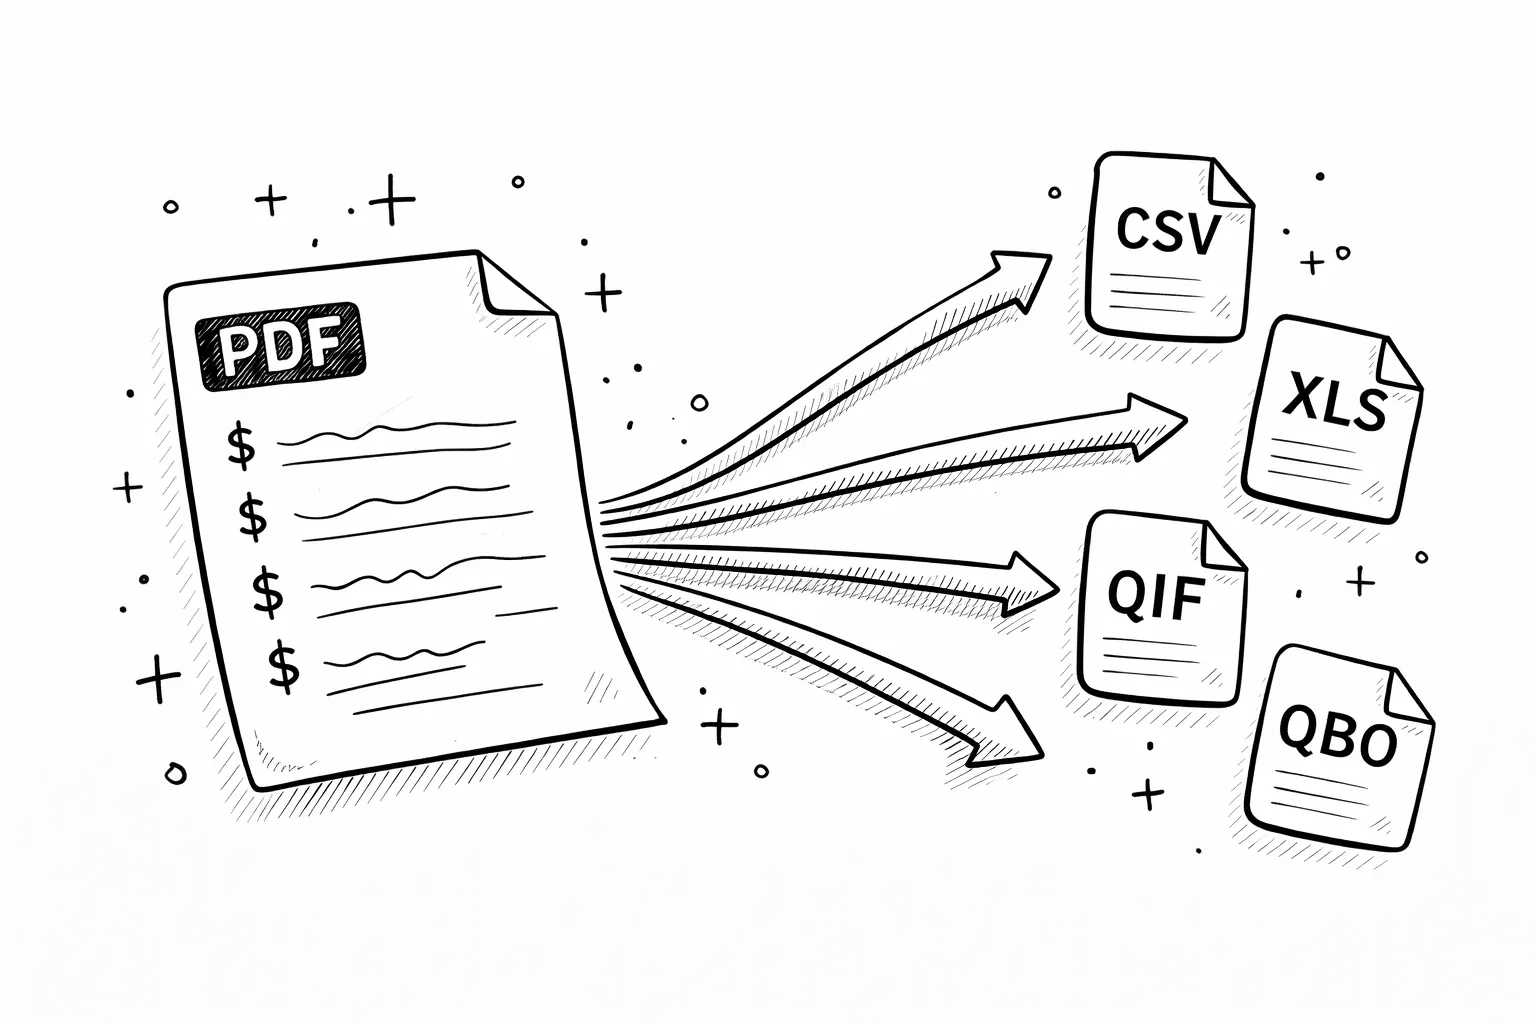
Accounting platforms need structured data — one transaction per row, each field in its own column. A PDF bank statement stores this data as a visual layout, not as structured text, so it can't be parsed directly by Xero or QuickBooks.

The solution is always the same: get the data into CSV format first. You have three options: (1) download a CSV directly from your bank's online banking, (2) use a bank statement converter if you only have a PDF, or (3) for scanned statements, use an OCR-based converter that reads the image and extracts transactions.

CSV format requirements by platform

PlatformDate formatRequired columnsAmount formatNotes
XeroDD/MM/YYYY or MM/DD/YYYYDate, Amount, Payee, Description, ReferenceSingle signed column (negative = debit)Xero auto-detects date format. Amount can be split into separate debit/credit columns.
QuickBooks OnlineMM/DD/YYYYDate, Description, AmountSingle signed column or separate Debit/CreditMap columns during import wizard. Bank name and account number not required.
WaveYYYY-MM-DD preferredDate, Description, AmountSingle signed column (negative = expense)Wave is strict about date format. Use ISO format to avoid parse errors.
FreshBooksMM/DD/YYYYDate, Description, AmountSingle signed columnImport via the Banking section. Match to existing bank account in FreshBooks.

Importing into Xero — step by step

Xero → Accounting → Bank accounts → Import a statement

1
Go to Accounting → Bank accounts
From the Xero dashboard, navigate to Accounting in the top menu, then select Bank accounts.
2
Select the bank account
Click on the bank account you want to import transactions into. If the account doesn't exist yet, click 'Add bank account' first.
3
Click 'Import a statement'
On the bank account page, look for the 'Import a statement' button (usually near the top right). Click it.
4
Upload your CSV file
Choose your CSV file. Xero will preview the first few rows and ask you to map the columns — Date, Amount, Payee/Description. Match each column header to the correct field.
5
Set the date format
Confirm the date format matches your CSV. If dates appear incorrectly in the preview, change the format until they parse correctly.
6
Click Import
Xero will import the transactions and show them in the 'Reconcile' tab. Review each transaction and match it to existing invoices or create new spend/receive money entries.

Importing into QuickBooks Online — step by step

QuickBooks → Banking → Upload transactions

1
Go to Banking → Upload transactions
From the QuickBooks Online left sidebar, click Banking (or Transactions in newer versions), then select 'Upload transactions'.
2
Select your bank account
Choose the bank account to import into from the dropdown. If it's a new account, create it first under Chart of Accounts.
3
Upload the CSV file
Click 'Browse' and select your CSV file. QuickBooks accepts CSV and Excel files. Maximum 1,000 rows per import.
4
Map the columns
QuickBooks shows a column mapping screen. Match Date, Description, and Amount to the correct columns in your file. If you have separate Debit and Credit columns, map both.
5
Set the date range (optional)
QuickBooks may ask for the date range of the statement. Enter the start and end dates to help it filter duplicates.
6
Review and finish
QuickBooks imports the transactions into the Banking feed. From there, review each transaction, categorize it, and match it to existing entries or create new ones.

Importing into Wave — step by step

Wave → Banking → Bank accounts → Upload statement

1
Go to Banking → Bank accounts
From the Wave sidebar, click Banking, then select the bank account you want to import into.
2
Click 'More' → 'Upload statement'
On the account page, look for the overflow menu (three dots or 'More') and select 'Upload statement' or 'Import transactions'.
3
Choose your CSV file
Select your CSV file. Wave accepts CSV with Date, Description, and Amount columns.
4
Map columns and confirm date format
Wave will prompt you to confirm column mapping. Use YYYY-MM-DD date format — Wave is strict about this and will reject other formats.
5
Import and categorize
Wave imports the transactions. Review each one, assign categories, and mark as reviewed. Wave will remember your categorization choices for future imports.

Importing a scanned or photographed bank statement

If your bank statement is a scan, a phone photo, or a faded printout — rather than a digital PDF — you need OCR before you can get to a CSV. The process is:

1
Run OCR
Upload the scanned PDF or image to a bank statement converter with OCR support. Google Cloud Vision reads the text from the image regardless of image quality.
2
Get a clean CSV
The converter extracts dates, descriptions, and amounts — normalizes them into a clean 4-column CSV with one row per transaction.
3
Import into Xero or QuickBooks
Use the CSV import steps above. The CSV produced by a bank statement converter is formatted to be compatible with accounting platform imports.

Our bank statement to CSV converter handles both digital PDFs and scanned images automatically — no need to know which type you have upfront.

Common import errors and how to fix them

Date format not recognized
Fix: Change the date format in your CSV to match the platform's required format. Try exporting with a different format or use Find & Replace in Excel to reformat dates.
Amounts importing as positive when they should be negative
Fix: Check that debits are negative in your CSV. Some bank exports use separate Debit/Credit columns — convert to a single signed column using a formula: =IF(Debit>0, -Debit, Credit).
Duplicate transactions after import
Fix: Most platforms detect duplicates by date + amount. If you see duplicates, check your CSV date range doesn't overlap with previously imported data.
CSV not accepted — wrong format
Fix: Open the CSV in a text editor and check for special characters, BOM markers, or inconsistent column counts. Save as UTF-8 CSV without BOM.
Scanned statement — can't get a digital CSV
Fix: Use an OCR-based converter. Upload the scanned PDF or image to a bank statement converter — it runs OCR to extract the text, then exports a clean CSV.

Free tool · 30 seconds · No signup

Get your bank statement into a clean CSV

Upload your PDF bank statement and download a CSV ready for Xero, QuickBooks, or Wave import — dates, descriptions, amounts, and categories included. Free, no account needed.

Frequently asked questions

Can I import a PDF bank statement directly into Xero or QuickBooks?
Not directly — both platforms require a CSV file, not a PDF. You need to convert your PDF bank statement to CSV first, then import the CSV. If your bank provides a CSV or OFX export in online banking, use that. If you only have a PDF, use a bank statement converter to extract the transactions.
What CSV format does Xero require?
Xero requires at minimum: Date, Amount, and a Description or Payee column. The date format can be DD/MM/YYYY or MM/DD/YYYY — Xero detects it automatically. Amounts should be in a single signed column (negative for debits) or split into separate Debit and Credit columns.
What CSV format does QuickBooks Online require?
QuickBooks Online requires Date (MM/DD/YYYY), Description, and Amount columns. Amount can be a single signed column or split into separate Credit and Debit columns. You map the columns during the import wizard, so exact column names don't matter.
How do I import a scanned bank statement into Xero?
You can't import a scan directly. You need to: (1) run OCR on the scan to extract the text, (2) get the transactions into a CSV, then (3) import that CSV into Xero. A bank statement converter with OCR support handles steps 1 and 2 automatically.
Why are my imported transactions showing as duplicates?
Platforms check for duplicates by matching date and amount. If you're importing a period that overlaps with previously imported or auto-synced transactions, you'll see duplicates. Check your import date range and exclude any dates already imported. Some platforms let you skip specific rows during import.
Can I import OFX or QBO files instead of CSV?
Yes — QuickBooks natively accepts QBO files (QuickBooks Web Connect format), and Xero accepts OFX files. These formats preserve more structure than CSV and usually require less manual column mapping. If your bank doesn't offer these formats directly, a bank statement converter can export to OFX or QBO from your PDF.
How many transactions can I import at once?
QuickBooks Online has a limit of 1,000 rows per import file. Xero has no documented row limit but may slow down with very large files. For multi-month imports, split into monthly CSV files — one per import — to stay within limits and make reconciliation easier.
Continue readingView all posts →
Guide8 min read
How to Save Money on Groceries (Without Eating Worse)
Cut your grocery bill by 20-30% with meal planning, store brands, and reducing food waste.
Guide8 min read
Zero-Based Budgeting: Give Every Dollar a Job
How zero-based budgeting works, how it compares to 50/30/20, and a step-by-step guide to start.
Guide10 min read
How to Pay Off Credit Card Debt: Avalanche vs Snowball vs Balance Transfer
The true cost of credit card debt and 3 proven strategies to eliminate it — with real math.